Using CockroachDB with DotNet core and Dapper
[Version en français disponible ici]
In the dotnet ecosystem, this is common to use Entity Framework. But you can also use Dapper to manage your database access.
Dapper is a simple object mapper and is easy to use. For this blog, I'll show how to use Dapper to communicate with CockroachDB.
Preparing the environment
If you're here, I suppose you already have installed the dotnet core framework setup. If not, you can get it from https://dotnet.microsoft.com/en-us/download
Once installed, just run this command

After the creation, open the project folder in your IDE. Remove the WeatherForecastController.cs and WeatherForecast.cs files.
I recommend using CockroachDB Serverless, as it'll spin up your cluster quickly. You can also use any deployment.
Once you have all the information from Cockroach Cloud, you can modify the appsettings.json file by adding the connection string:

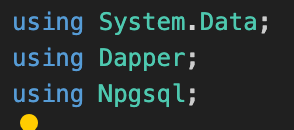
You will also need Dapper and Npgsql. You can add them by using these commands:


Simple Employee API
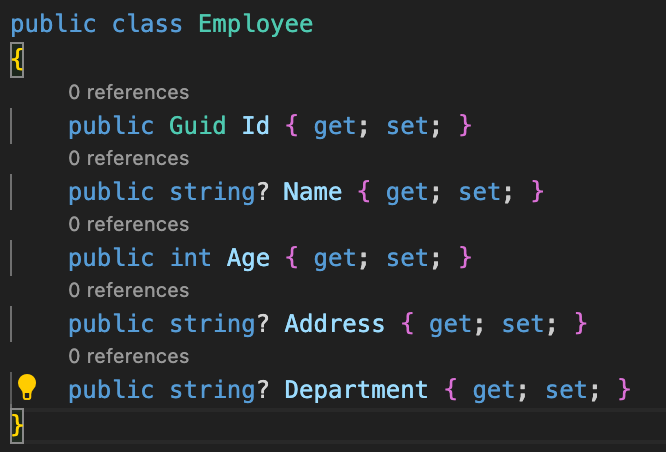
To start, let's add a folder named Models and create an Employee. cs file inside this folder. The model will look like this
Now we can create a Services folder and add those files to the folder:
- IDbService.cs
- ICRUDService.cs
- DbService.cs
- EmployeeService.cs
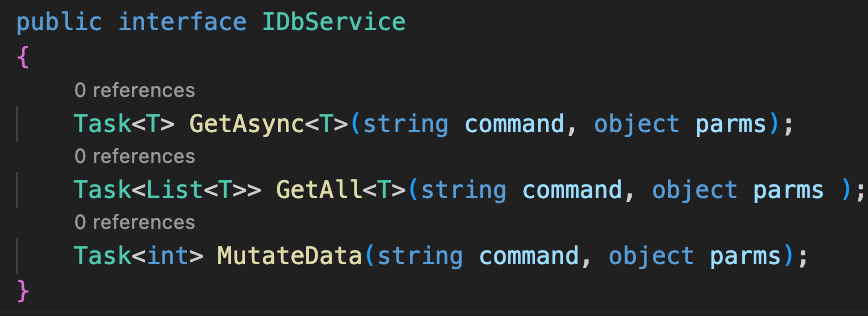
The IDbService is quite simple as we only declare methods we want to provide to access the database:
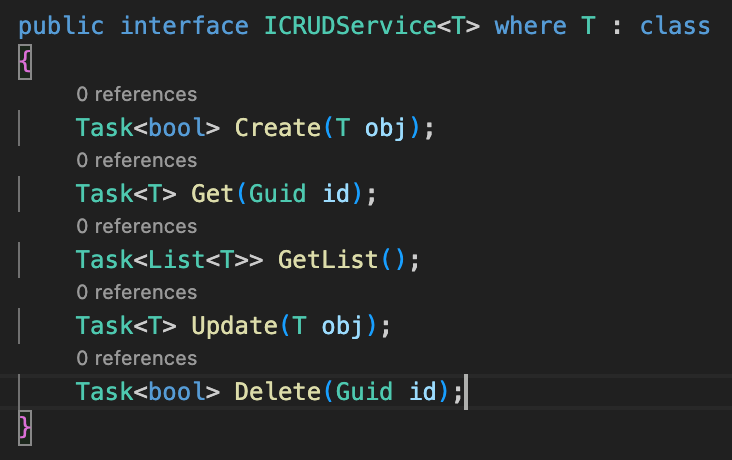
The ICRUDService.cs are also thin as we only declare CRUD operations:
Let's implement interfaces
The DbService should look like this:
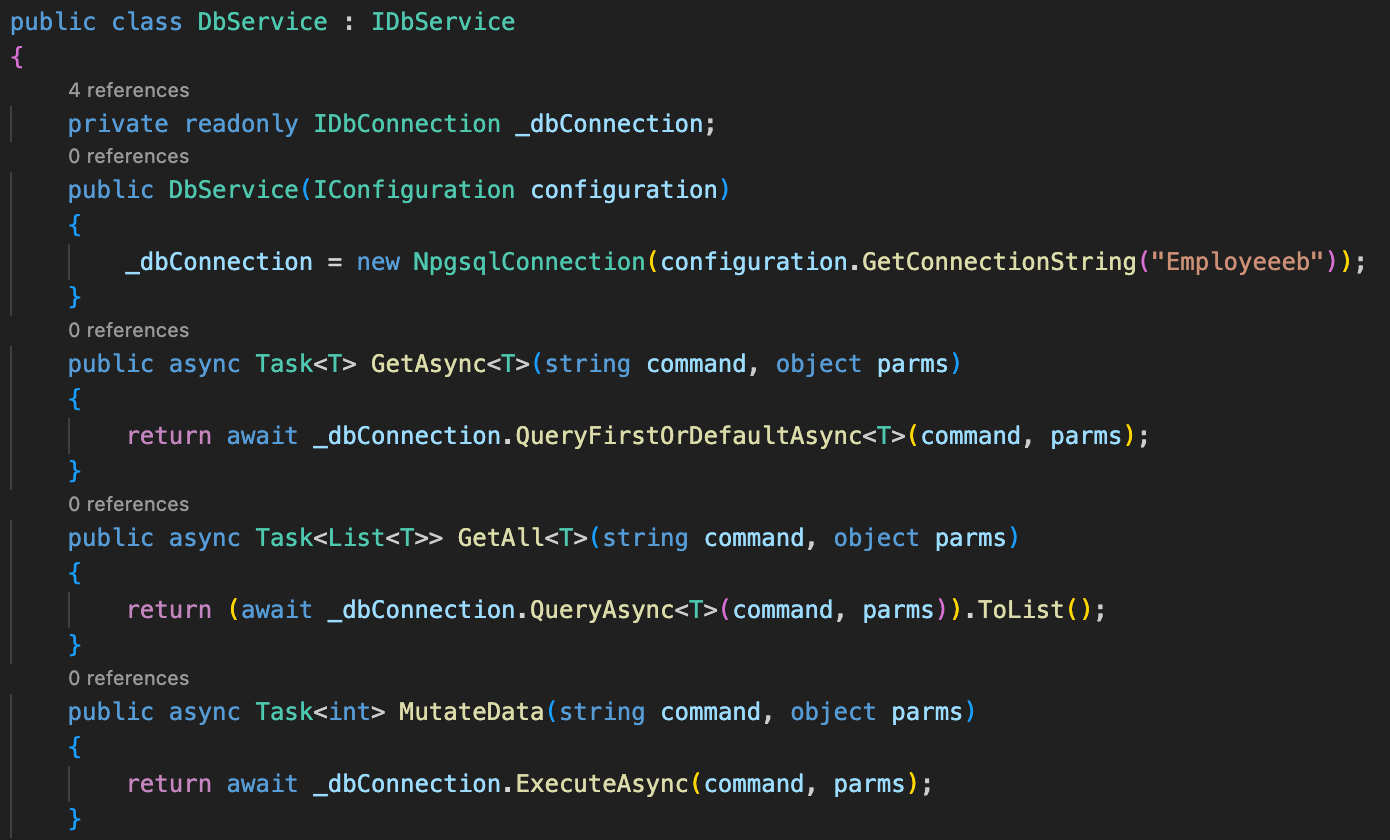
We simply ask the database to execute the command received and send back the result.
Don't forget to add Dapper and Npgsql dependencies.
The EmployeeService.cs file will get all the SQL queries we want to pass to the DB.
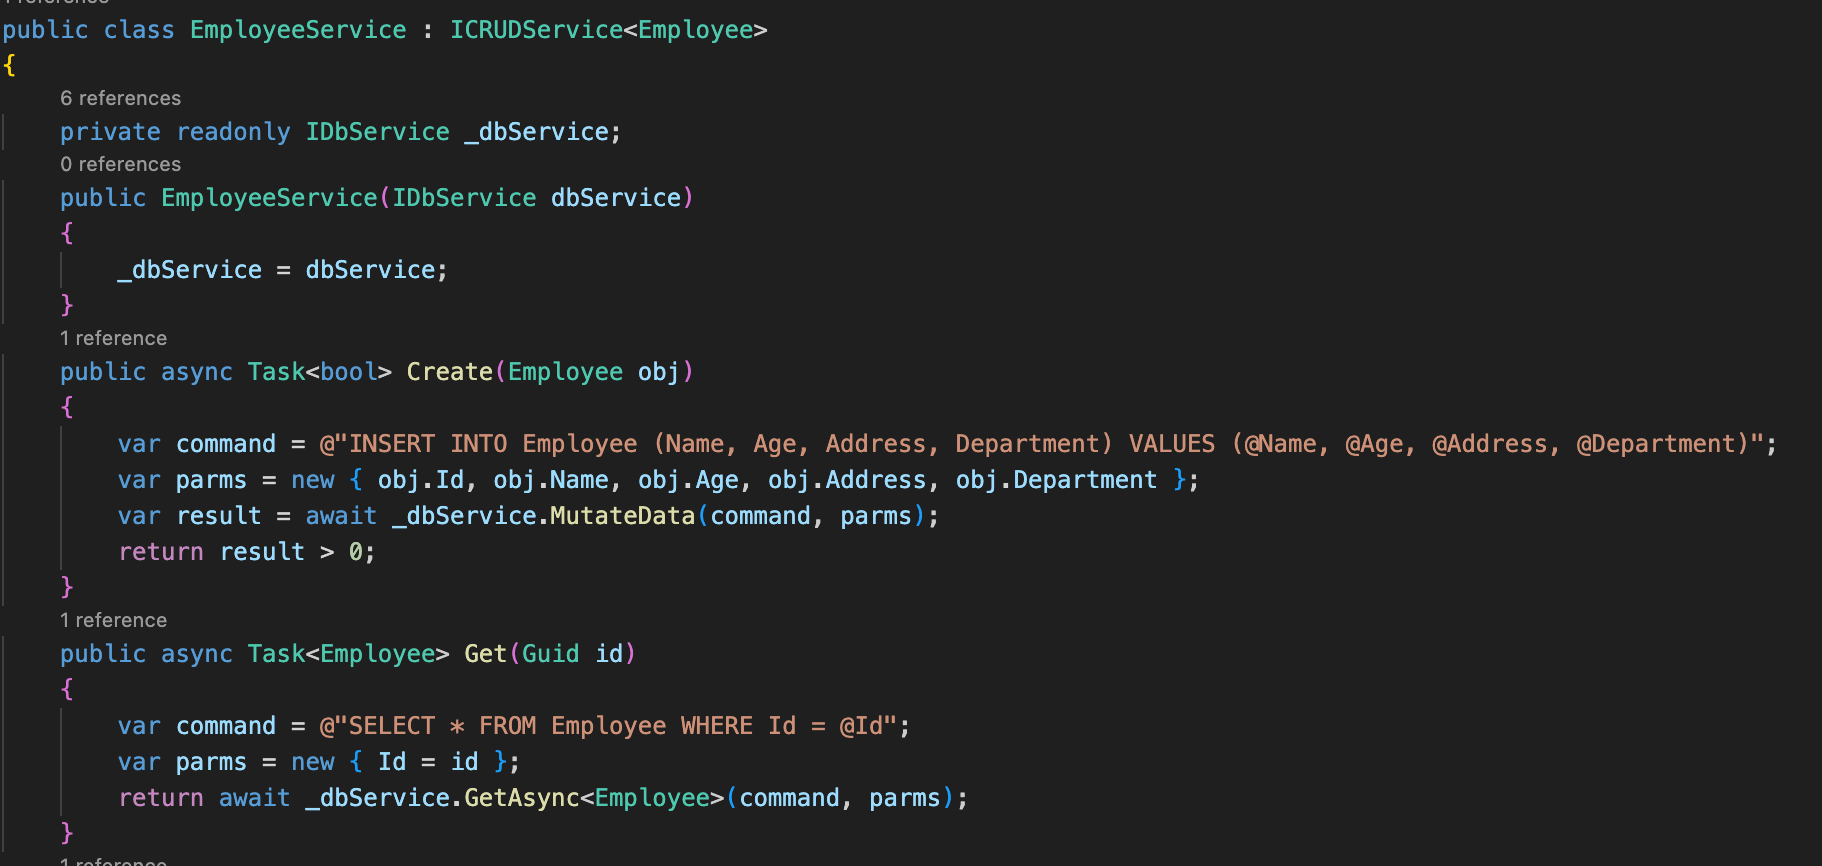
This is an extract of the complete file, but you get the idea.
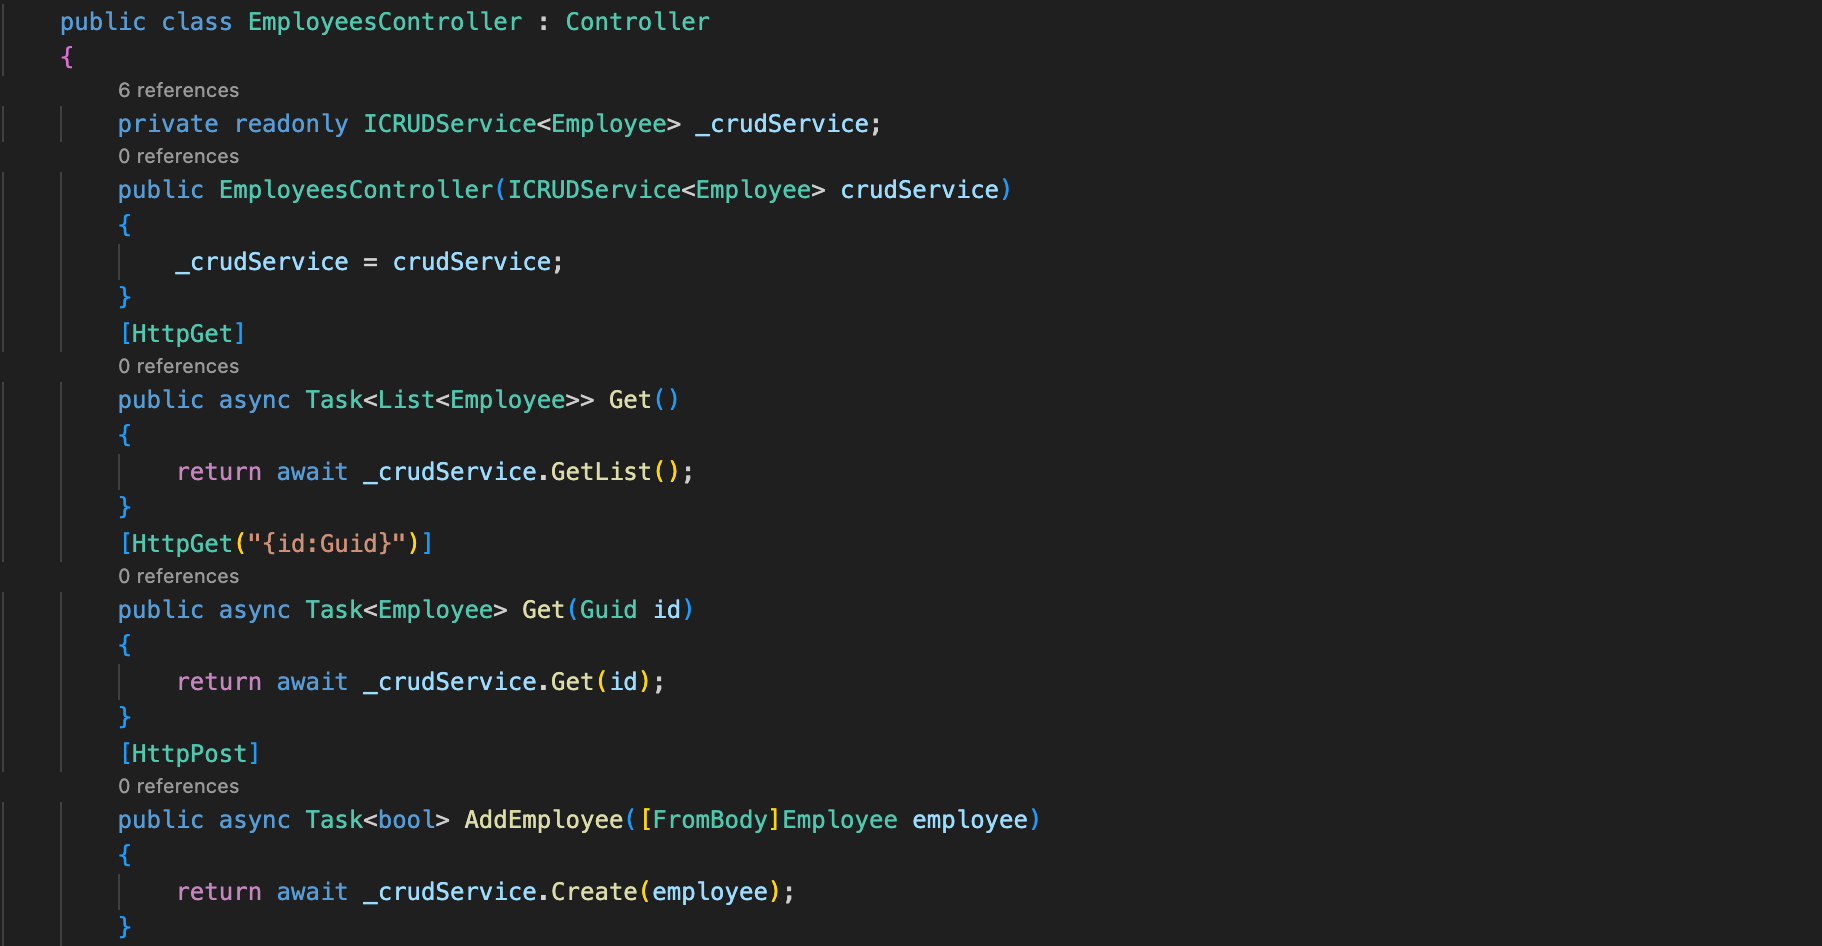
The Controller
As you can expect, the controller in this example is simply passing calls.
Once everything is done, don't forget to glue everything together in Program.cs

Testing the app
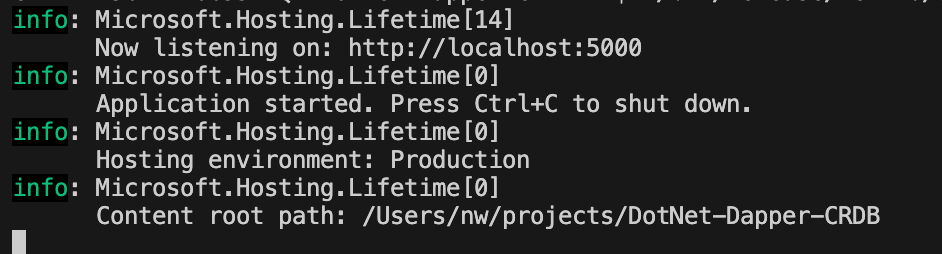
I wanted to check the behavior of the binary. To do so, you need to publish your app and run the binary.
Here is what it looks like:

Don't forget to add execution authorization if needed (chmod +x) and then you can run your API.

Conclusion
To ensure it's working properly, I ran some wrk testing. Hereafter, a screenshot of the results.
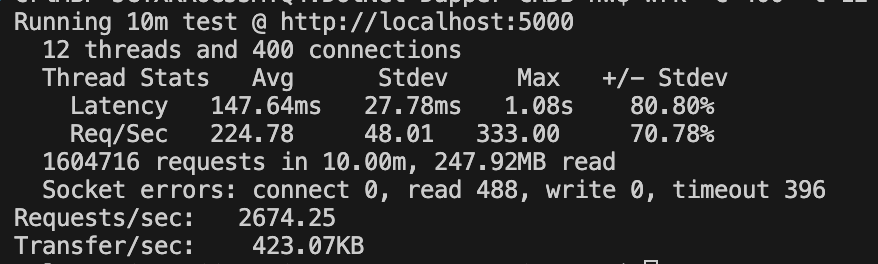
As you can see, it's working perfectly fine without any issues. You can also run concurrent wrk processes to test concurrency on the different endpoints you created. During my tests, the QPS achieved was always the same whatever the combination of POST, PUT, GET, and DELETE I tried.
If you want to test it by yourself, you can check this repo https://github.com/Hytm/CockroachDB-Dapper-Example.